
Everything you need to know about the brow treatment that will replace your morning pencil routine for good. Discover how it works, how it feels, what it costs and how to find a technician who won't give you brows straight from Instagram 2016.
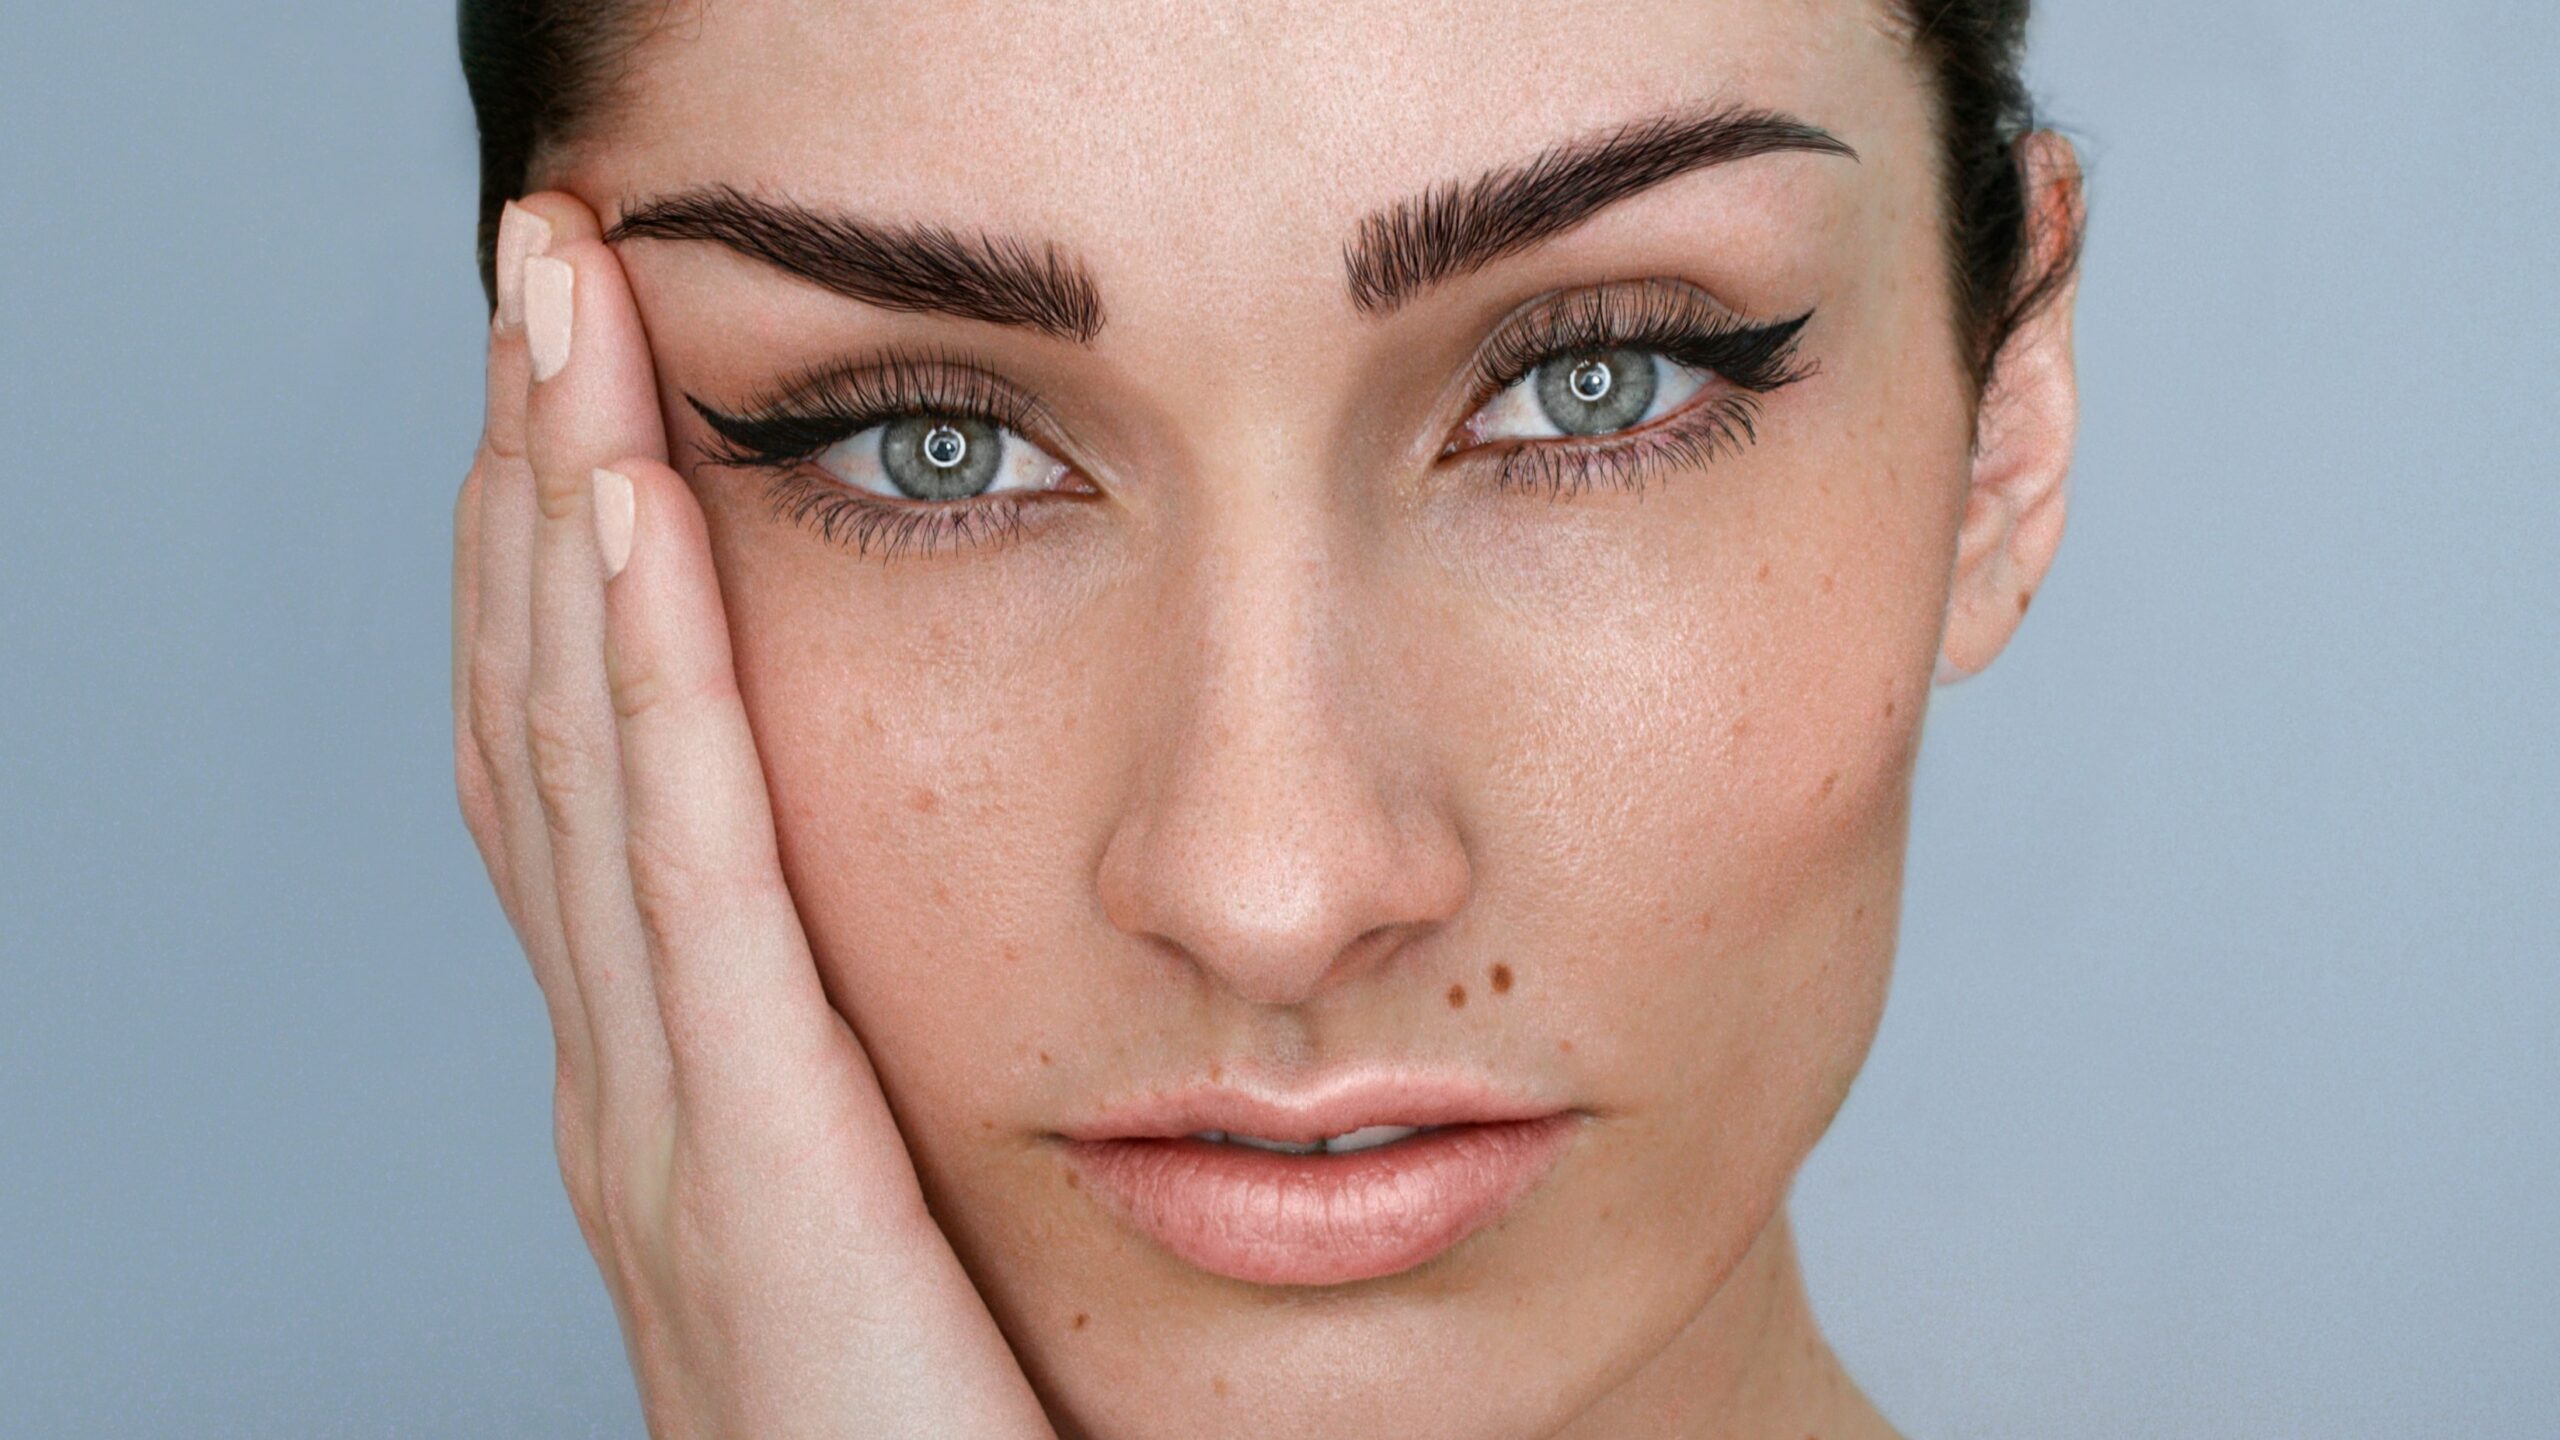
What is microblading?
Let us explain: microblading uses a pen-like tool fitted with ultra-fine needles to deposit pigment into the skin in delicate, hair-like strokes. No longer will you spend every morning painstakingly filling your brows only to catch your reflection at lunchtime and realise one of them has silently shifted. Microblading fixes that problem. Semi-permanently, at least.
Unlike a traditional tattoo, which goes deeper into the dermis, microblading only penetrates the skin’s upper layers, so the results look natural rather than drawn on. Plus, the pigment fades gradually over time, which means you're never locked into a shape that felt right two years ago but doesn't suit you now.
The precision is what makes it special. A skilled artist can mimic the direction and thickness of your real brow hairs so convincingly that people won't clock the difference (they'll just think you've got good eyebrow genes). If you've ever looked at someone's brows and thought “those can't be real but I can't work out why”, that's microblading done well.
You might also hear about microshading, which uses tiny dot patterns for a soft, powdery finish, and combination brows, which blends hair strokes with shading for extra fullness. Your technician can help you figure out which suits you best.
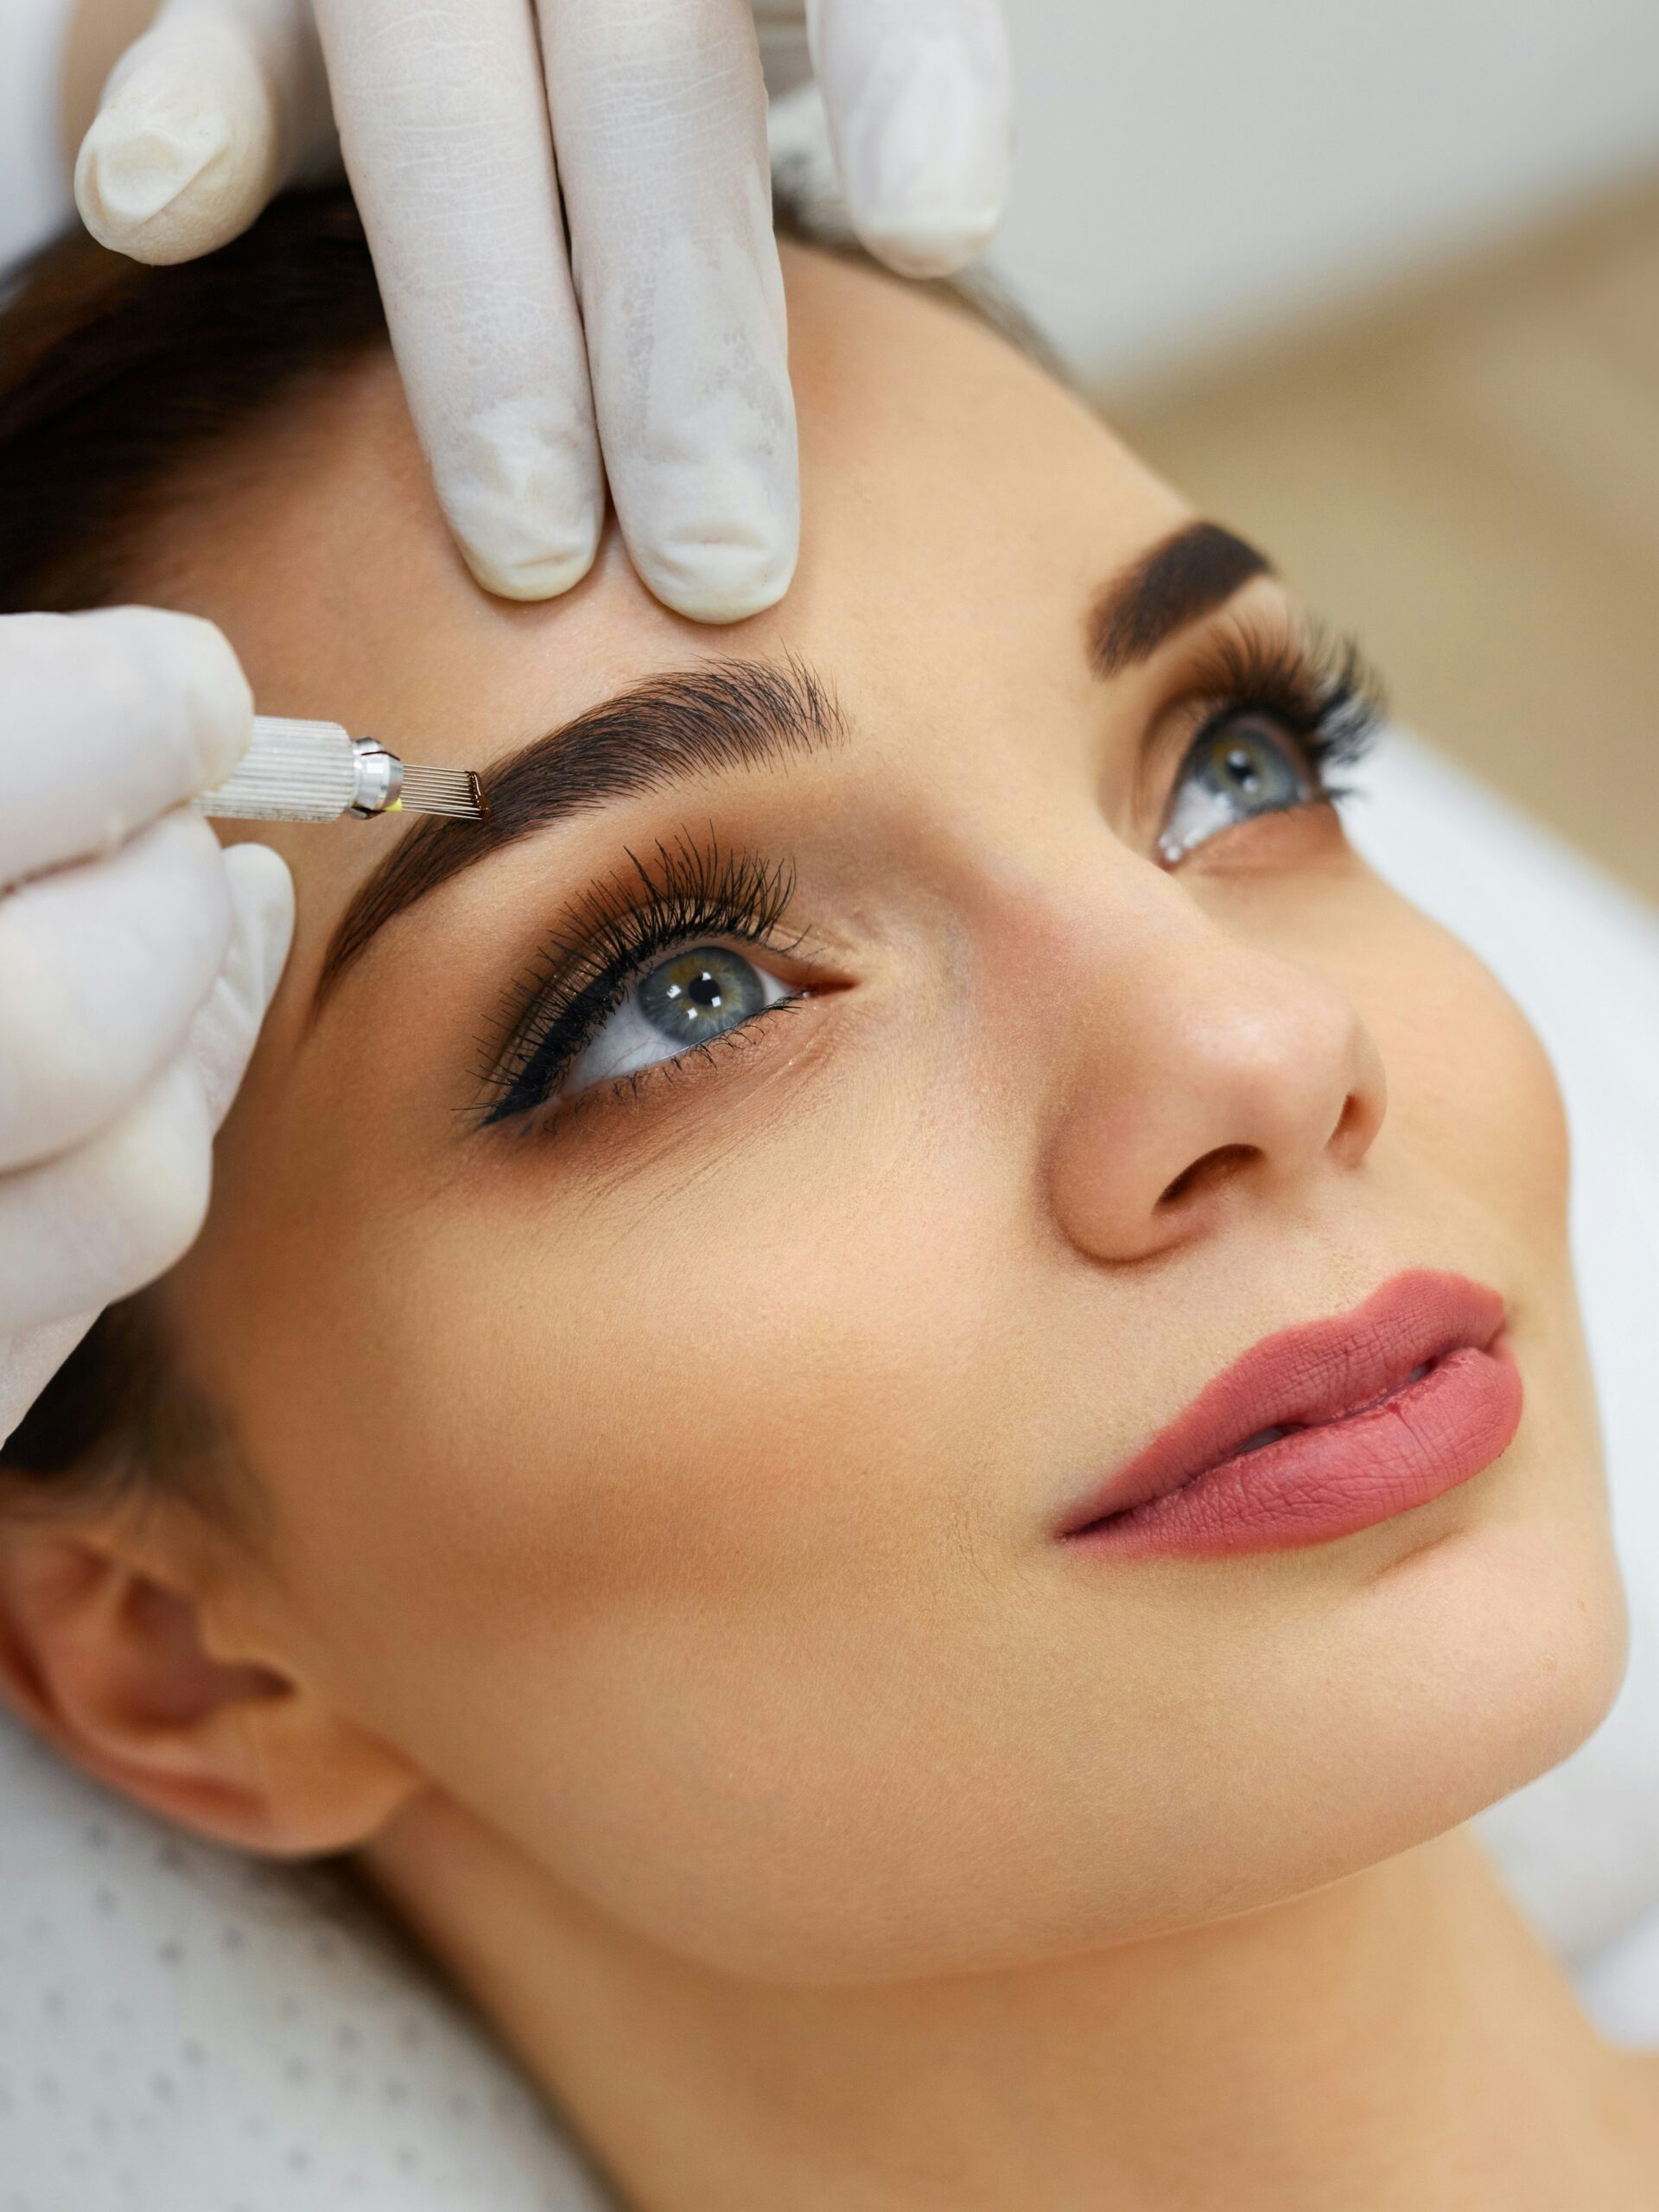
The science behind hair-like strokes
A microblading tool features a row of tiny needles, angled and grouped to create fine incisions in the skin. These cuts need to hit just the right depth. Too shallow and the pigment vanishes within weeks; too deep and you risk scarring or a bluish tint (neither of which is the look anyone's going for). A skilled artist will understand the interplay of skin type, pigment viscosity and incision depth for each client, and that is how they consistently deliver stunning, natural-looking results.
How microblading differs from traditional tattooing
The key distinction is depth. Microblading sits in the epidermis; traditional tattoos penetrate deeper into the dermis. The manual microblading tool creates fine, delicate strokes, while a tattoo machine produces bolder, solid fill. Microblading pigments are also specially formulated to fade over time rather than staying put permanently. The result? Hair-like strokes that move with your expression instead of sitting flat on your face.
The complete microblading process: step by step
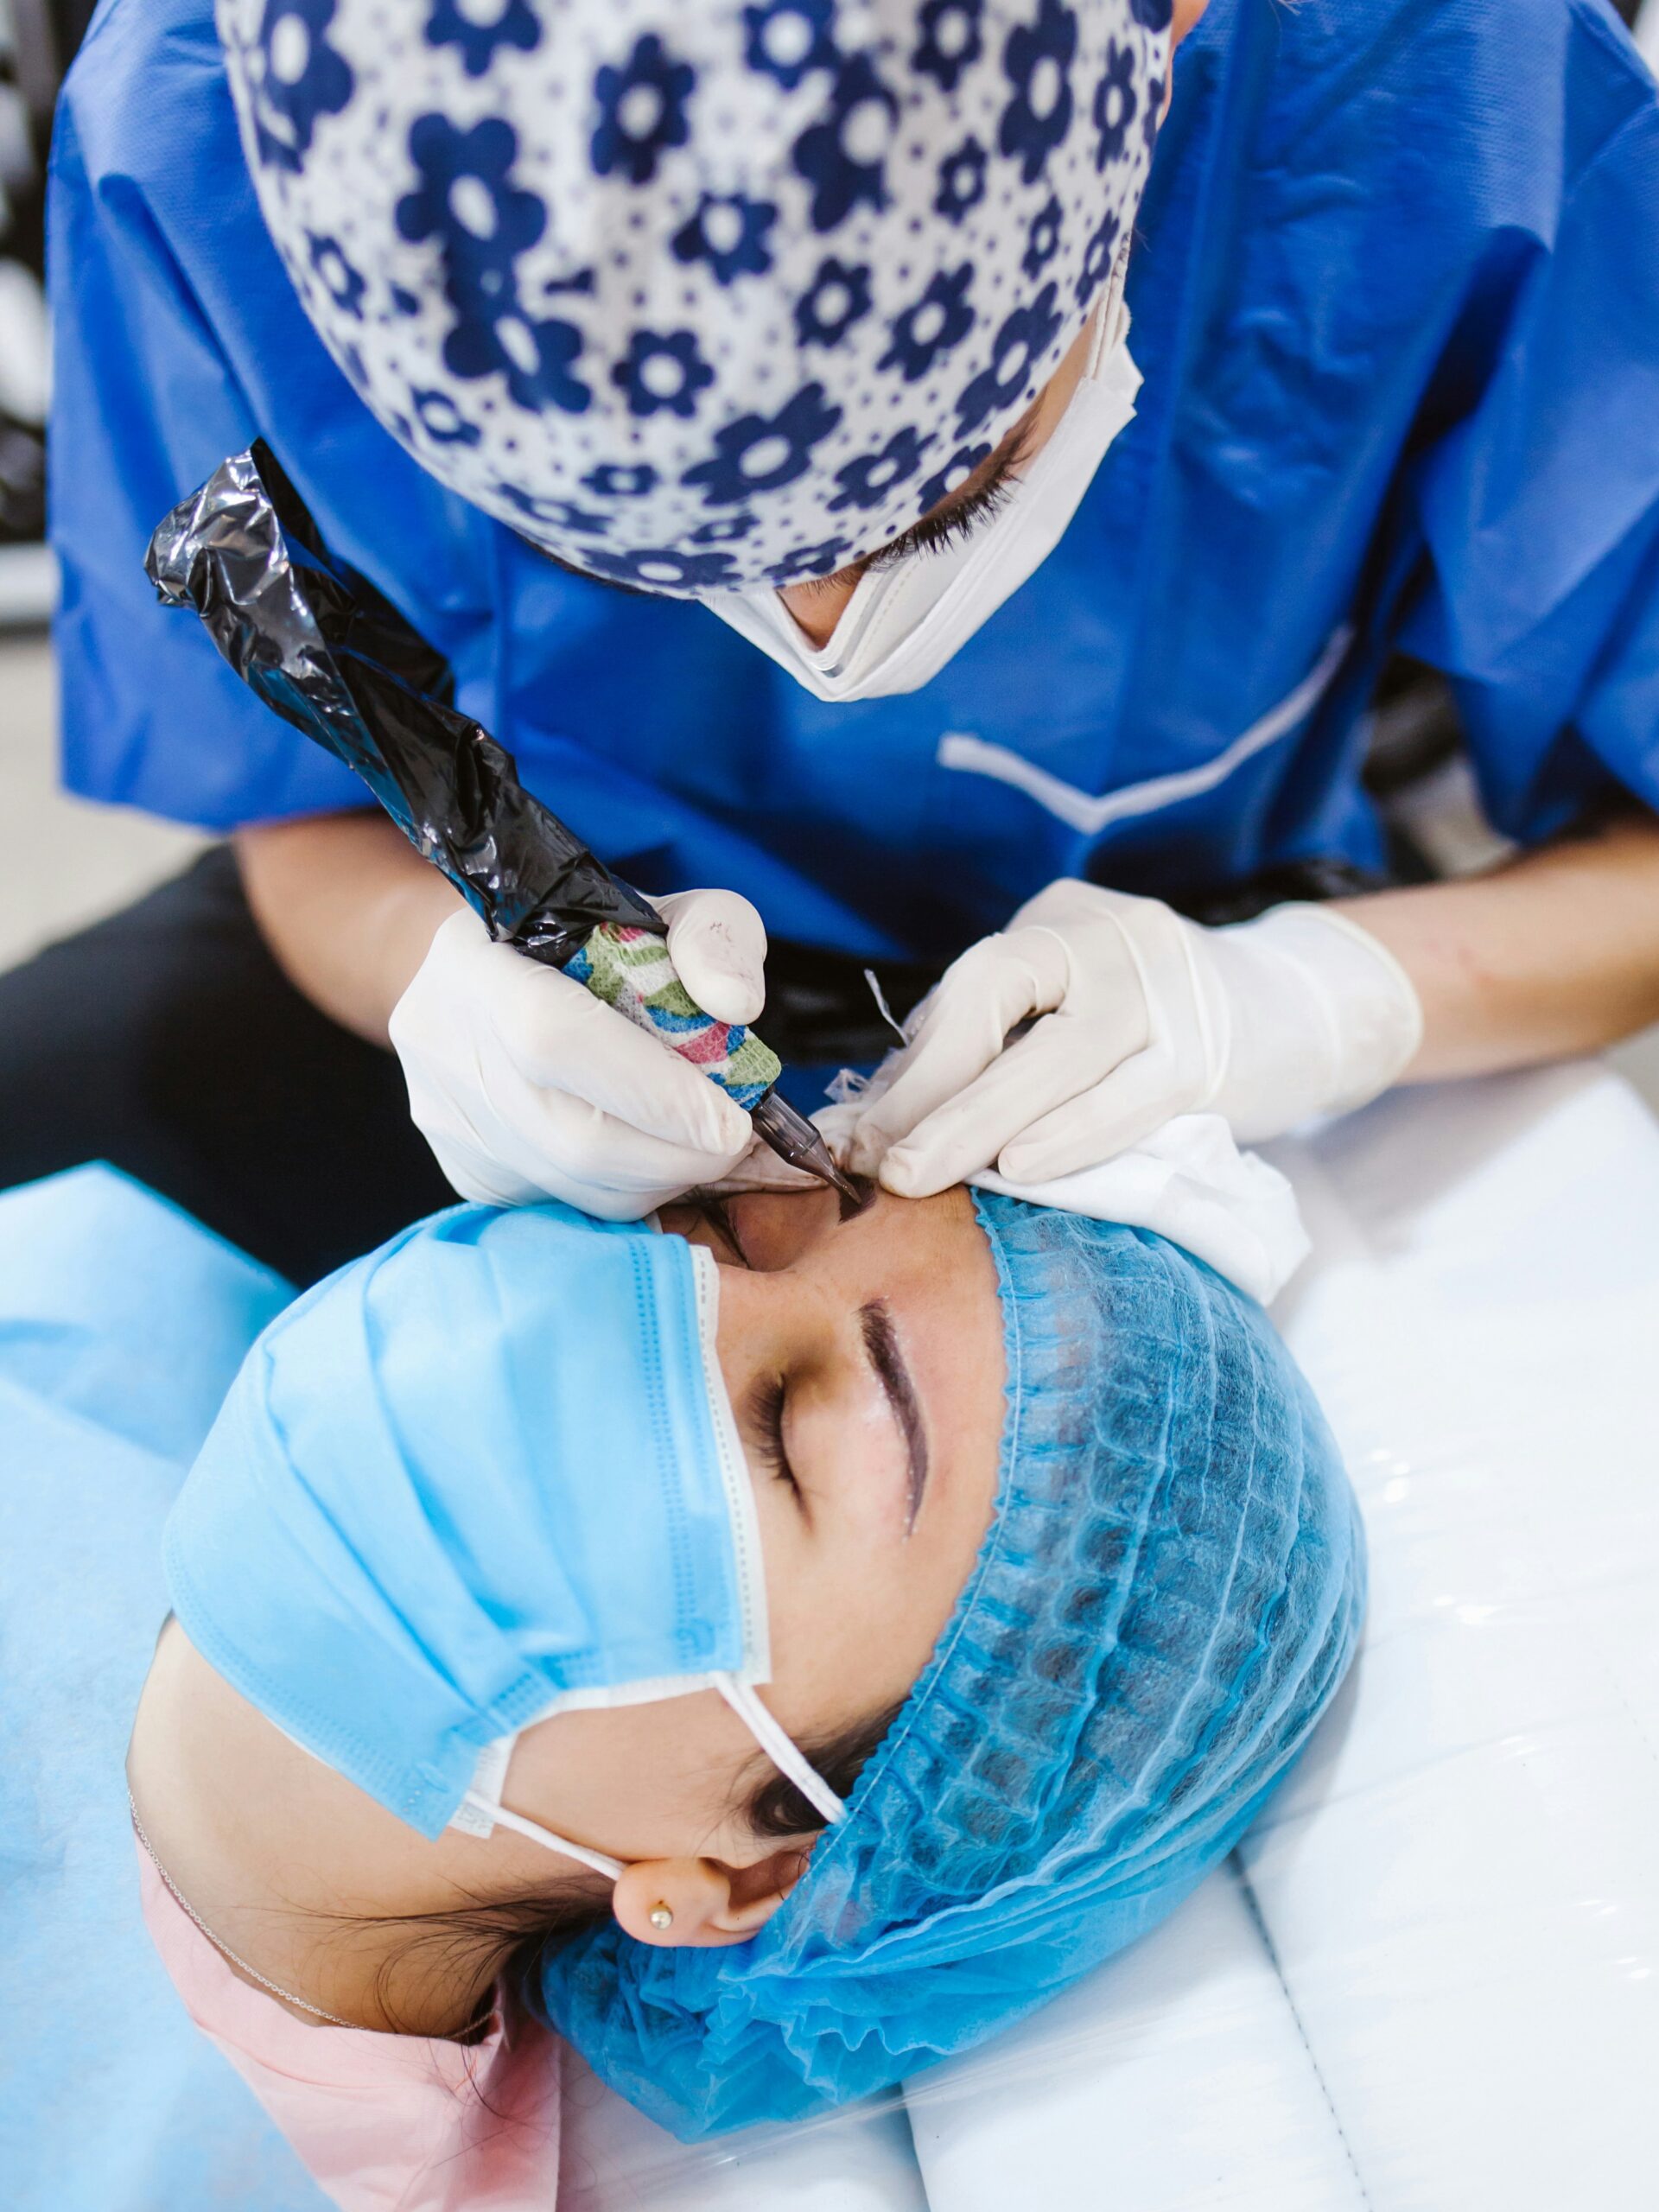
A full microblading session takes around two hours, and some salons allow up to three hours. It starts with a consultation where you'll chat through your brow goals, followed by brow mapping and colour selection. After a numbing cream has had 20–30 minutes to do its thing, your technician begins creating hair-like strokes in the direction of your natural growth. Pigment is smoothed on periodically, then wiped away to reveal the work beneath. You'll hear a light scratching sound. Totally normal and not nearly as alarming as it seems.
A microblading touch-up at 4–6 weeks post-treatment is essential. This is when your artist fills any gaps, adjusts colour saturation, and perfects the overall shape now that the healing is complete. Most salons bundle this in with the initial price.
The importance of brow mapping
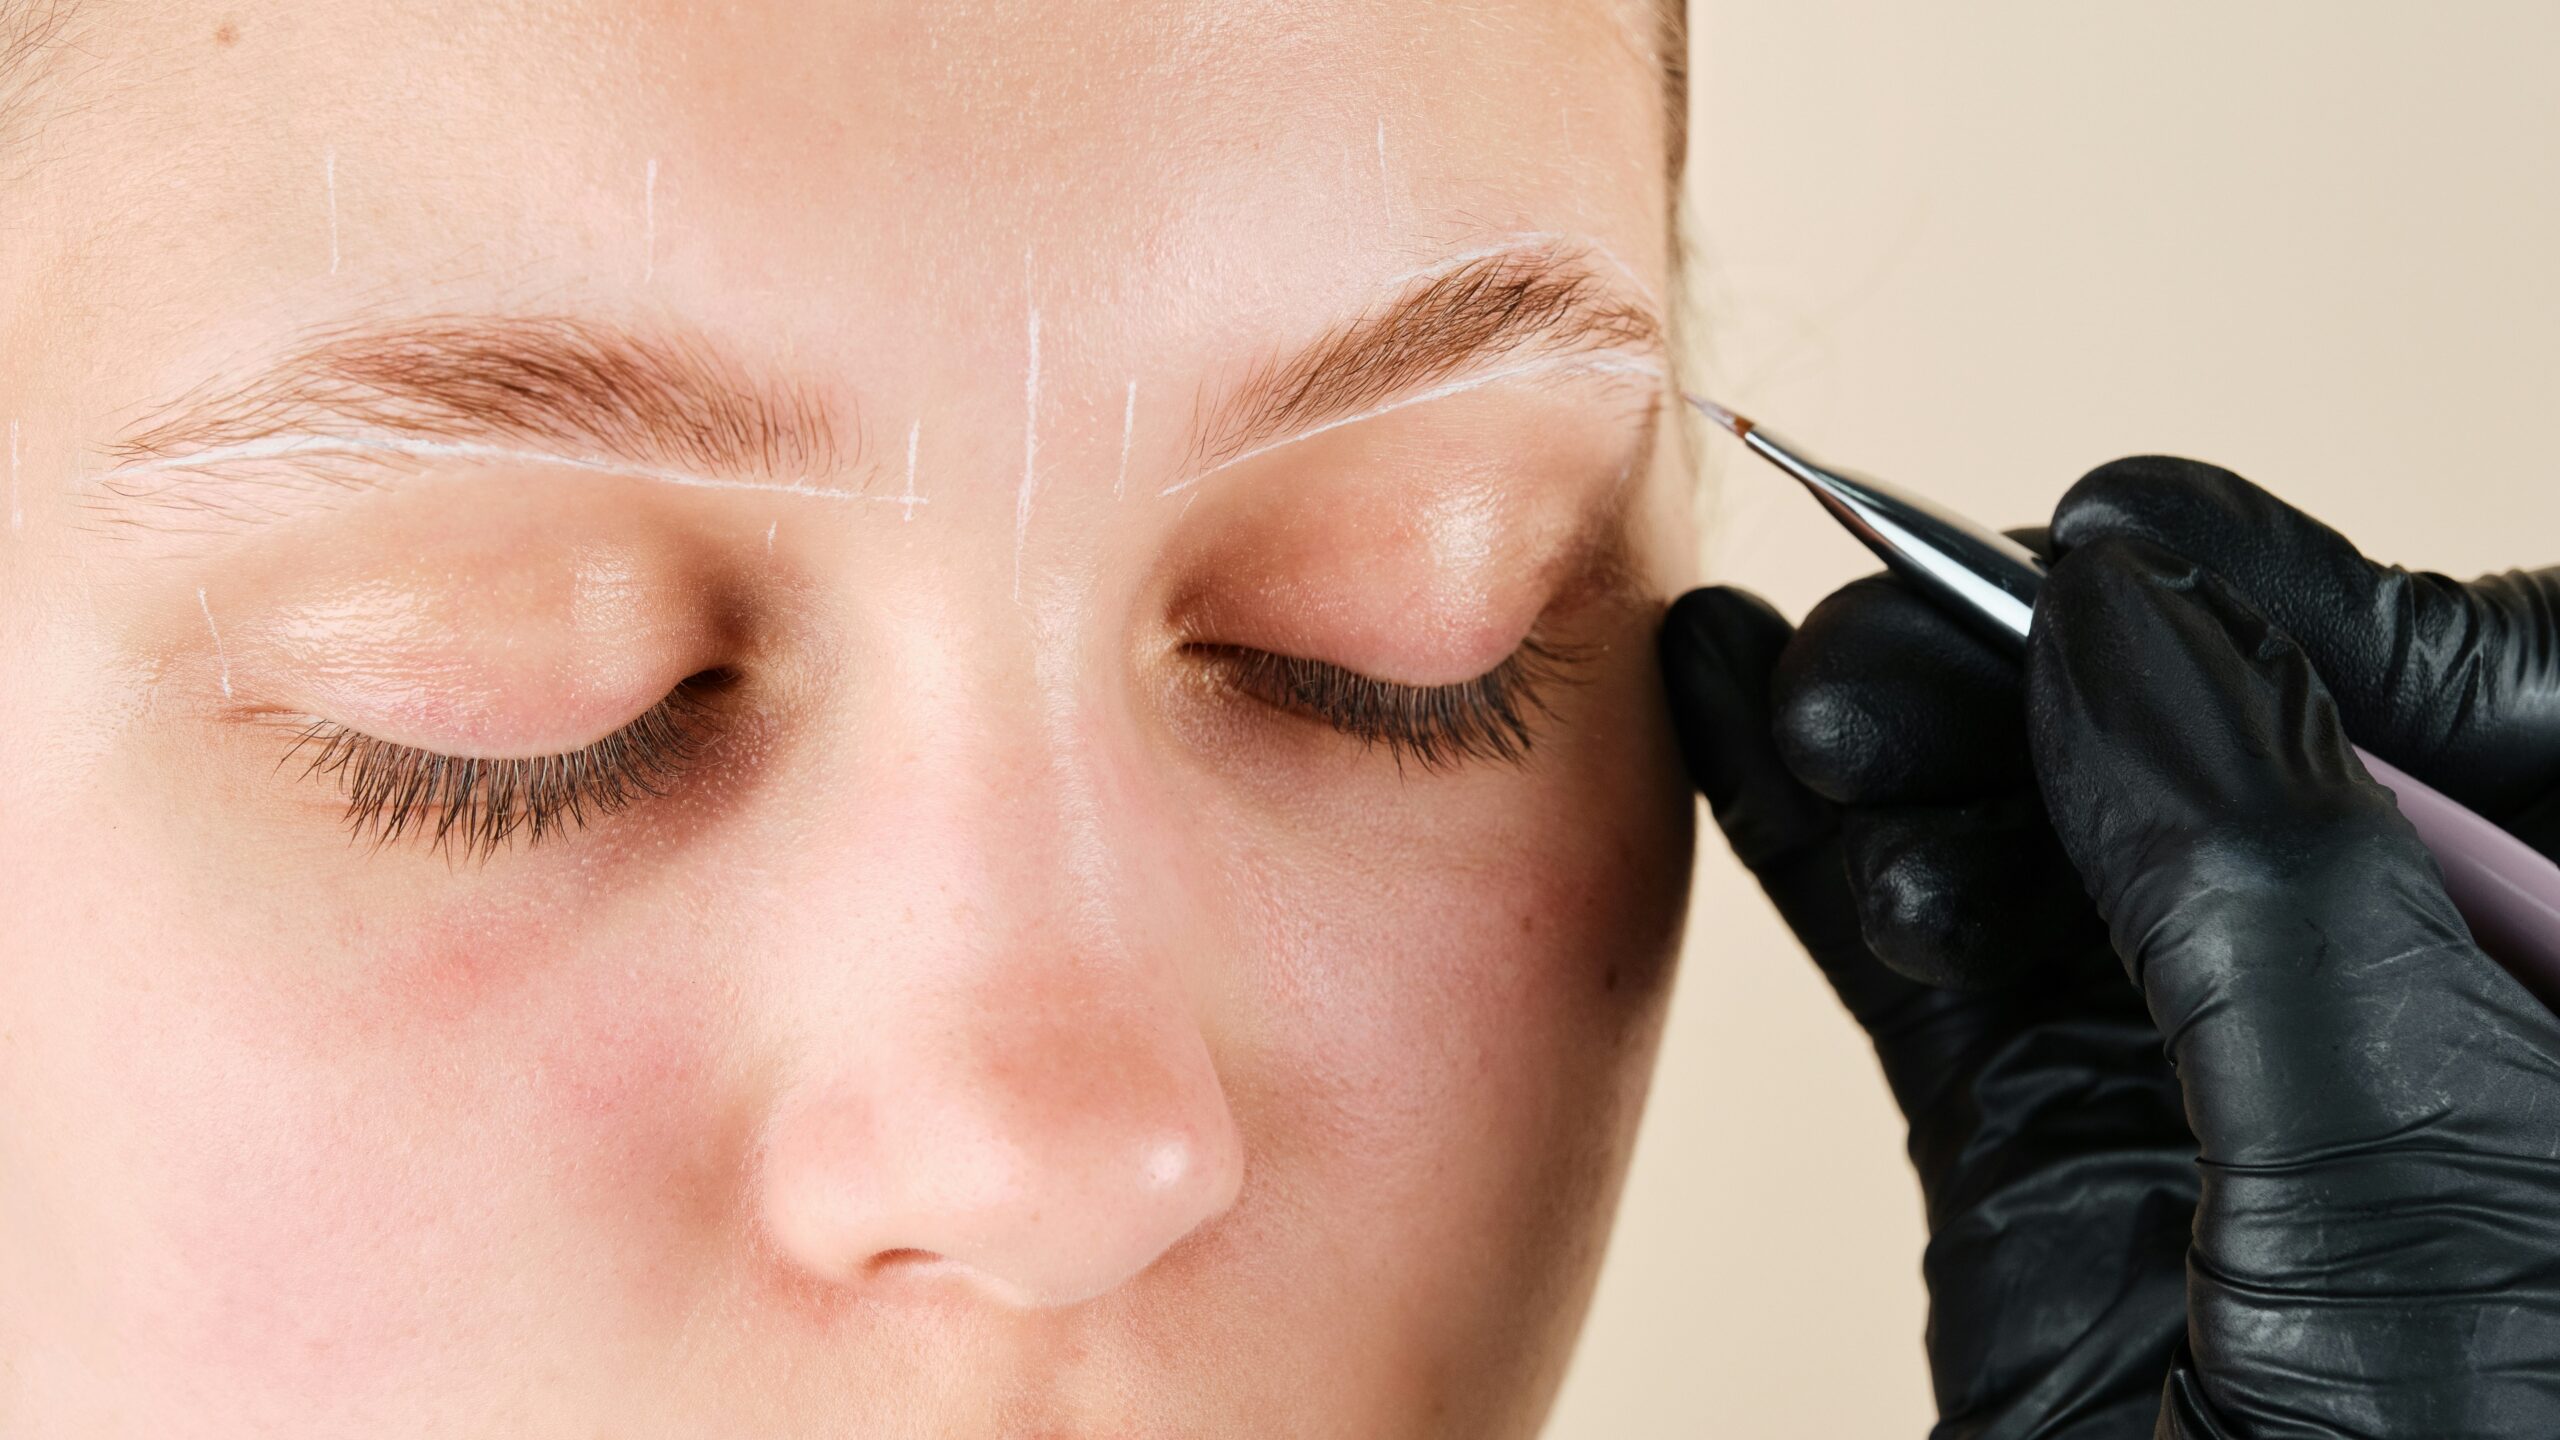
During brow mapping, a technician uses tools to make measurements based on the “golden ratio” to determine where your brows should start, arch and end for optimal symmetry. They’ll then mark these points on your skin and confirm the design with you before making a single stroke. No surprises. This stage often takes longer than the actual microblading, and for good reason: getting the shape right is everything. A good technician won't rush it (and you shouldn't want them to).
What happens during the appointment
A microblading appointment flows through clear stages: cleansing the brow area, mapping and drawing the design, applying numbing cream, creating the strokes, and final cleanup. Communication matters. If you feel discomfort beyond mild scratching, speak up and your technician can apply more numbing cream.
One thing to know, your brows will look bold and dark immediately afterwards. But they won't stay that dramatic, we promise. The intensity fades significantly as they heal.
How long does microblading last?
Results typically last 12-18 months, though some people can wait up to two years before needing a refresh. If you have oily skin, your brows might fade faster because excess sebum breaks down pigment more quickly. Sunlight degrades pigment rapidly too (think of how your hair colour fades over summer).
Most people book their first refresh around the 14-month mark, right when brows start looking less defined in photos.
Factors that affect microblading longevity
Beyond skin type, your skincare routine plays a bigger role than you might expect. Products containing retinol, glycolic acid or physical exfoliants speed up skin cell turnover and wear the pigment away. Age plays a role too. Youthful skin that's constantly regenerating can mean a refresh is needed sooner.
How to maximise your microblading results
Protecting your investment comes down to three habits: apply SPF to your brow area daily (mineral sunscreens work brilliantly for this), avoid retinoids and exfoliants directly on your brows, and remember to book touch-ups every 12–18 months rather than waiting until they've completely faded. Freshening up is always easier, and more affordable, than starting over.
The microblading healing process: what to expect
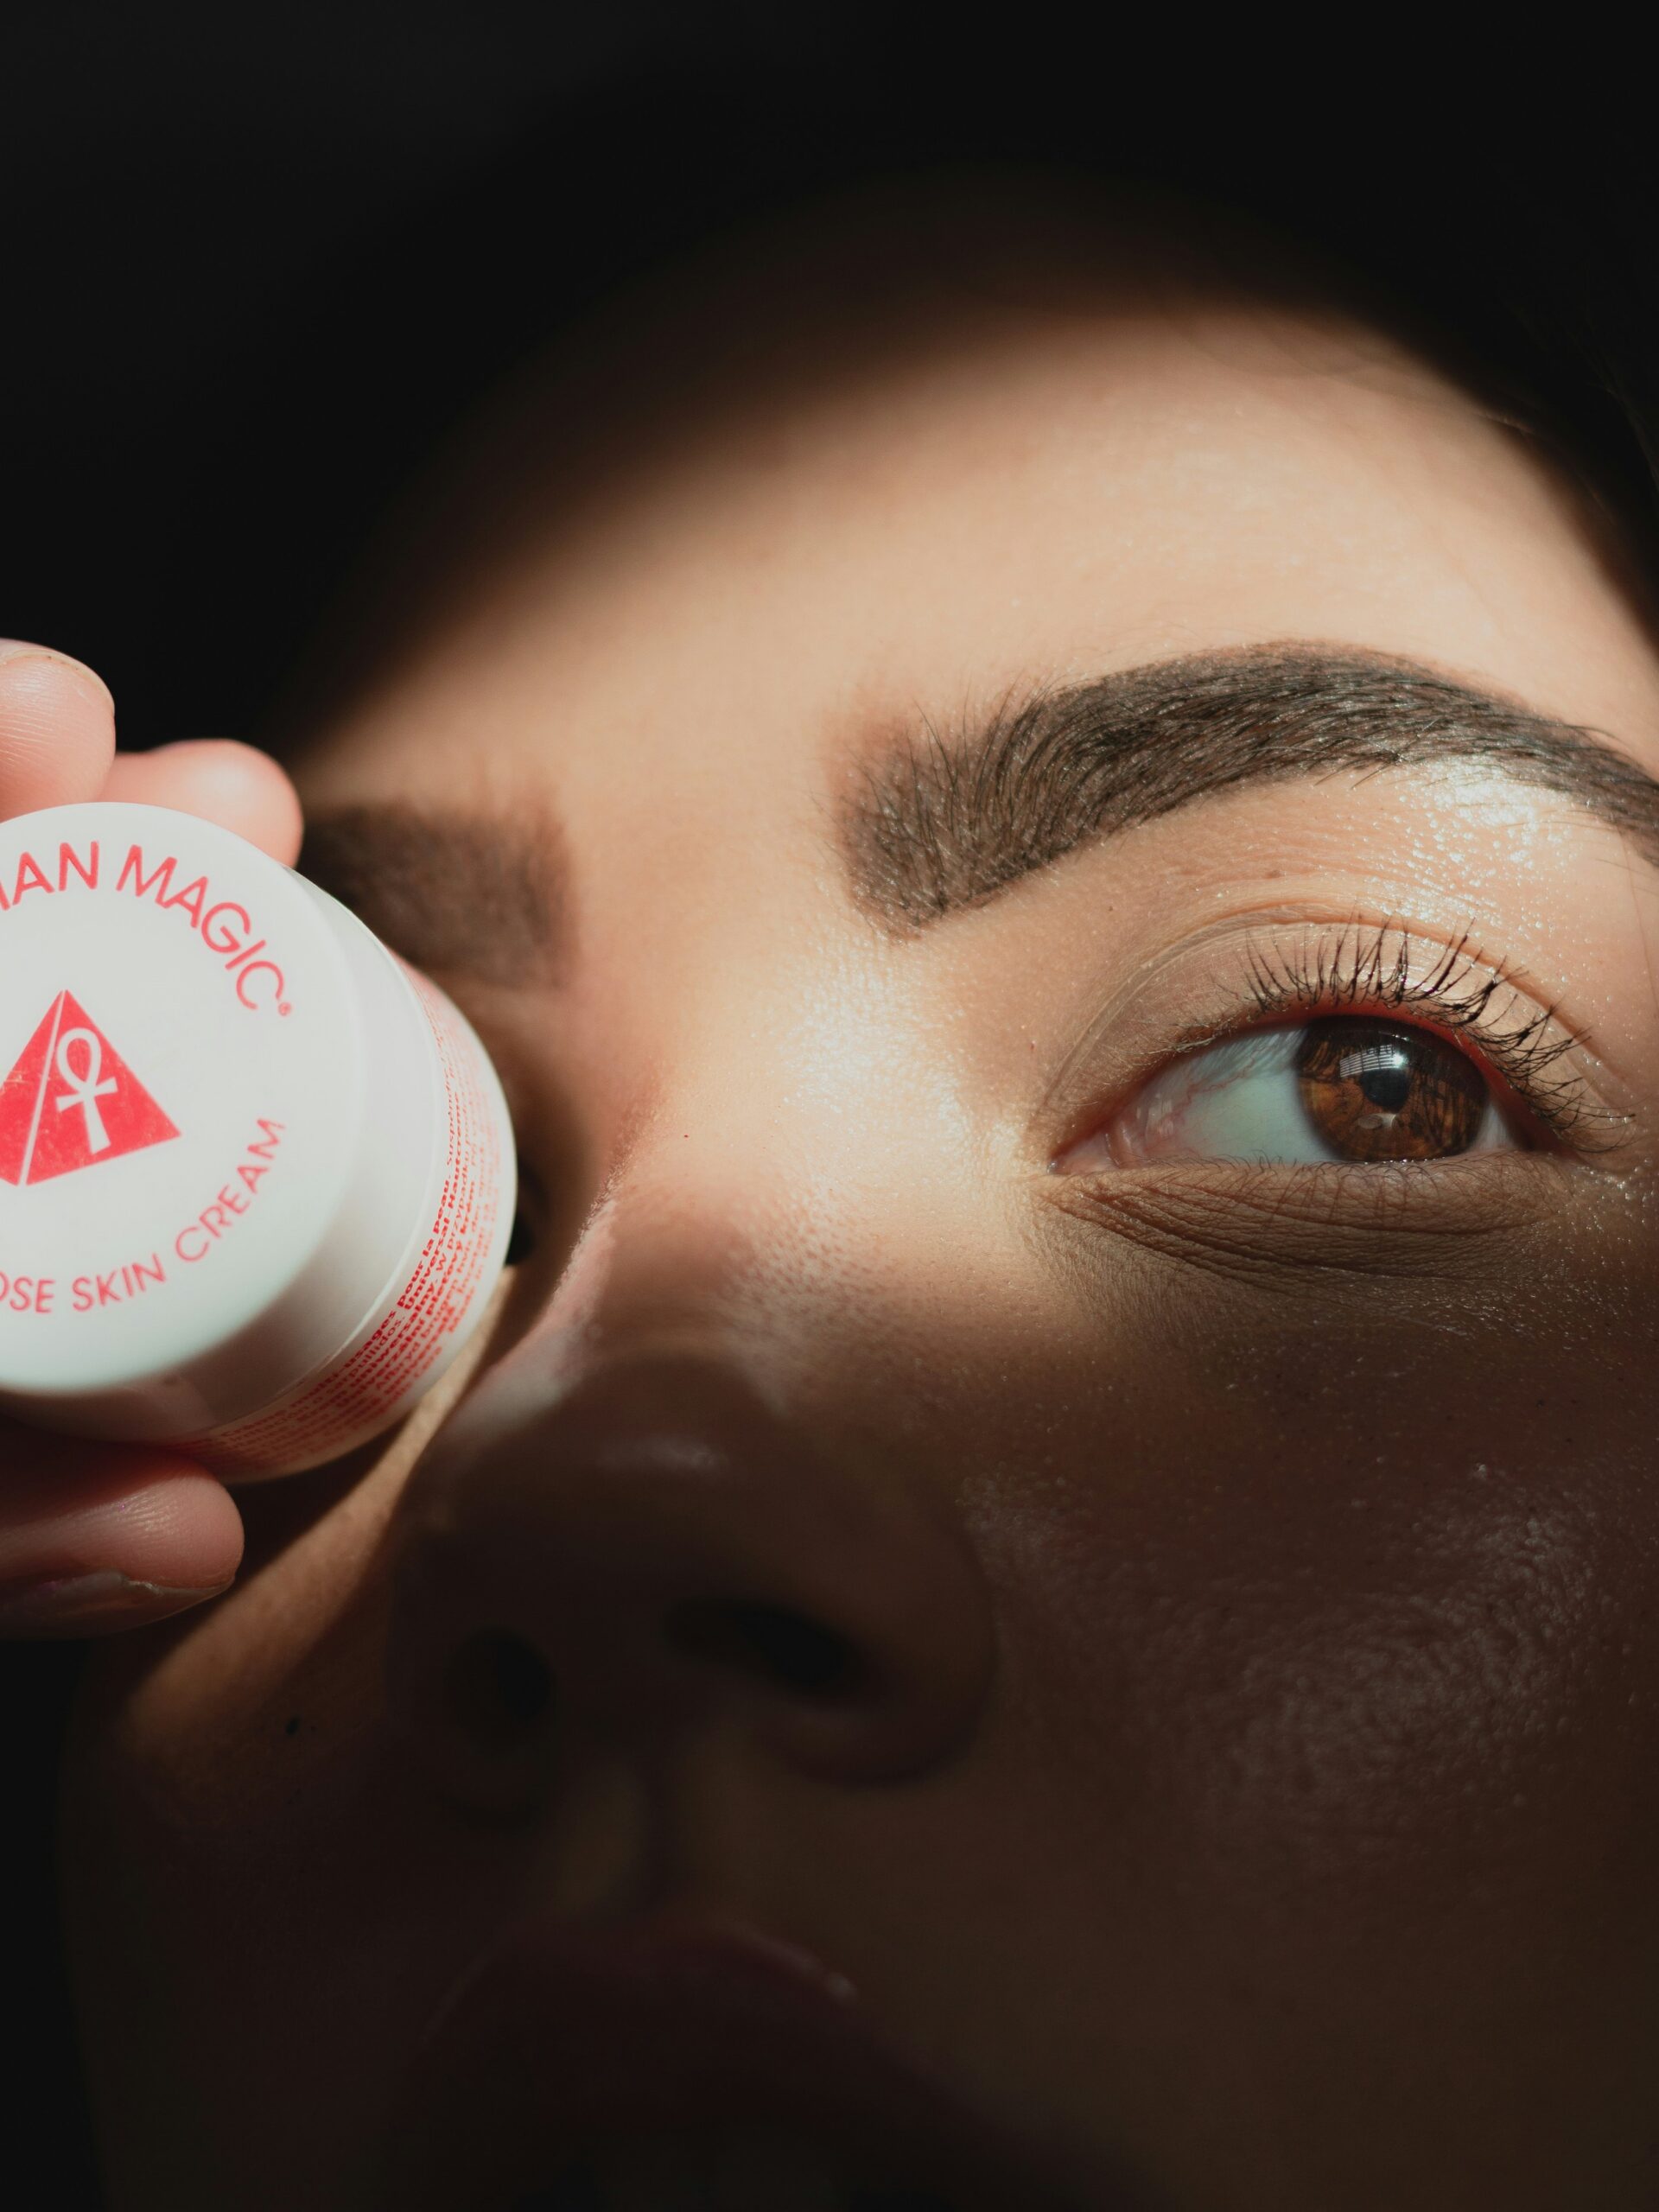
Healing after microblading takes 4-6 weeks, and it's a bit of a journey. Brows start bold and dark, then begin to scab or flake around day six. The colour may seem to vanish before stabilising by week three or four. (This freaks people out, but it's completely normal.) True colour settles by week six, and that's when you'll finally see the real results.
The key thing? Don't judge your brows during the healing phase. Step away from the magnifying mirror and let them do their thing.
Week-by-week changes
During week one, brows are dark and may ooze clear lymph fluid while forming light scabs. Week two brings scabbing and flaking – resist the urge to pick at all costs or you might introduce an infection or make the pigment patchy. By week three, colour looks significantly lighter and may appear uneven. Don’t panic, it's all part of the process. Week four onwards is when the final colour and shape emerge as the skin completes its healing cycle.
Warning signs to watch for
Mild redness and slight swelling immediately after your appointment are to be expected. However, keep an eye out for persistent pain beyond the first day, pus or yellow discharge, severe itching that doesn't respond to recommended products, or raised, angry bumps around the strokes. If any of these develop, contact your technician or healthcare professional straight away. Most people sail through healing without a hitch, but infections can occasionally happen if aftercare isn't followed properly.
Microblading aftercare: the do's and don'ts
Proper aftercare is essential if you want the brows of your dreams. Here are the golden rules:
- Avoid wetting your brows for the first week. That includes sweat, so maybe skip the HIIT class. Your brows will thank you.
- Leave the scabs. We know it's tempting. But picking takes pigment with it and undoes all the work you've just paid for.
- Don’t wear makeup on the area for at least two weeks. Let your brows heal undisturbed.
- Keep the area clean, dry and protected from the sun. SPF is your brows’ new best friend.
First 48 hours
The first two days are crucial. Carefully blot away any lymph fluid using a clean tissue. Don't wipe, just press. Keep brows completely dry and only use the gentle soap your technician recommends (if they advise cleansing at all). Sleep on a clean pillowcase and try not to press your face into the pillow.
Long-term aftercare
Once healing is complete, continue avoiding direct sun exposure and retinoid products on the brow area. Use only a thin layer of recommended ointment or balm. Over-moisturising can actually draw out pigment (more isn't always more). Schedule a touch-up when you notice colour fading significantly, usually every 12–18 months.

Before your microblading appointment: how to prepare
Prep like a pro and you’ll see the best possible results plus easier healing. In the two weeks before your microblading appointment, avoid brow waxing or threading, retinol products, excessive sun exposure, alcohol, and Botox near your brows (it can affect muscle movement and make symmetry assessment tricky). On the day itself, limit caffeine and avoid blood-thinning medications unless medically necessary. And let your brows grow out fully so your technician can work with your natural shape. We know it's tempting to tidy them up, but leave it to the experts.
2-week pre-appointment checklist
- Disclose all medications and supplements to your technician, as some affect bleeding or healing.
- Discuss any blood-thinning supplements, like fish oil or vitamin E, with your doctor.
- Stop high-grade retinols, laser treatments and chemical peels near the brow area.
- Avoid tanning beds and extended time sunbathing.
- Minimise alcohol for a few days prior.
- Don't wax, thread or otherwise shape your brows in the final week.
Day-of tips
Stay well hydrated, eat a light meal beforehand and wear comfortable clothes you don't mind getting a bit of pigment on. Bring inspiration photos if you have a specific style in mind, but trust your technician's expertise about what will suit your face shape and features. A good artist will tell you honestly if your dream brow won't work with your bone structure, and that honesty is exactly what you want.
Who is (and isn't) a good candidate for microblading?
Microblading is perfect for people with sparse, thinning or uneven brows who want to ditch the daily filling-and-shaping routine. If you've spent years pencilling in brows that never quite match, or you've over-plucked and they just haven't grown back the way they used to (hello, everyone who came of age in the early 2000s), microblading can transform your morning.
That said, it's not for everyone. Those who are pregnant or nursing, prone to keloid scarring or dealing with certain medical conditions that affect healing should avoid the treatment. Skin type matters too. Normal to dry skin retains crisp strokes beautifully, while very oily skin may blur the lines or see faster fading. If that sounds like you, don't worry. Microshading or combination brows often deliver better long-term results for oily skin types.

Medical contraindications
Autoimmune disorders, blood clotting problems, diabetes and active skin conditions like eczema or psoriasis on the brows can complicate healing or increase the risk of infection. Always disclose your complete medical history to your technician. If you have concerns, discuss the treatment with your doctor beforehand. Some conditions aren't absolute barriers but may require extra precautions or modified techniques.
Skin type assessment
Dry to normal skin is excellent at holding delicate hair-like strokes and the desired pigment colour. Oily skin tends to blur the strokes slightly and experience faster fading as sebum breaks down pigment. Combination skin usually does well with proper aftercare. A simple self-test: if your T-zone gets shiny within hours of cleansing, you likely have oily skin. Your technician will evaluate this during consultation and may recommend microshading or combination brows if your skin type might respond better to those methods.
Microblading pain, discomfort and risks
Does microblading hurt? Not too much. Most people experience mild discomfort rather than actual pain, typically describing it as light scratching or stinging. Numbing cream really helps to minimise any sensitivity, and some people even drift off to sleep during the session. The anticipation is almost always worse than the reality.
There are risks to be aware of with microblading, including infection, allergic reaction to pigment, pigment migration beyond the intended strokes, or scarring. But these are relatively rare with proper technique and hygiene. You can prevent the vast majority of complications by choosing a skilled, certified technician who follows strict hygiene protocols
Managing discomfort
Quality numbing creams reduce sensitivity to very manageable levels. For nervous clients or those with lower pain tolerance, some artists reapply a numbing cream midway through the treatment. Just ask. Taking over-the-counter pain relievers beforehand can help, too, though avoid blood-thinners like aspirin or ibuprofen. If you can handle a threading appointment, you can handle this.
Minimising risks: choosing a qualified technician
Risk reduction starts with researching a good technician. Look for recognised certifications from reputable training programmes, confirmed use of single-use sterile needles, and a strong portfolio showing diverse, healed results. Their workspace should be impeccably clean with visible hygiene protocols. Walk away from anyone who rushes the mapping stage, can't produce documentation or offers suspiciously low prices. If it seems too good to be true, it probably is.
Microblading cost: what to expect
A full microblading treatment in the UK costs £200–£400, with variation based on location, the artist’s experience and what's included in your package. Most reputable artists bundle the initial treatment with a 4–6 week follow-up session. London and other major cities typically sit at the higher end.
While it might feel pricey upfront, quality work saves you a surprising amount of time and money on daily brow products over the 12–18 months your microblading lasts. And you can drop about ten minutes from your morning routine. Every single day. That adds up.
What's included in the price
Standard packages cover consultation, the first session and one touch-up appointment. Many technicians include aftercare products and detailed healing instructions. Some offer payment plans to spread the cost. Always clarify exactly what's included before booking. You don't want surprise charges for the essential follow-up session.
Long-term cost analysis
Here's the maths that might surprise you. A decent brow pencil costs £15–25 and lasts maybe three months, so you're easily spending £60–100 yearly on products alone. Add professional shaping or tinting every 4–6 weeks, and microblading starts to look like a sensible investment rather than a splurge. Just remember to factor in annual or bi-annual maintenance costs.
Microblading touch-ups and maintenance
The first touch-up at 4–6 weeks post-treatment is essentially non-negotiable. After your brows have healed, you’ll need your artist to perfect the overall shape by filling in any gaps or lighter areas. After that, maintenance touch-ups every 12–18 months keep your brows looking fresh and defined. These sessions are shorter and less expensive than the initial appointment.
Skip maintenance too long, and the pigment will fade entirely, meaning you'll need to start from the very beginning (and your bank balance won't like that).
The 6-week touch-up: why it matters
After healing, the 6-week touch-up addresses how your specific skin accepted the pigment. Some areas may have healed lighter, small patches might need filling or the colour might need slight adjustment. This shorter session (usually 30–60 minutes) is where your artist will finesse your final look. It's included in most pricing packages because it's part of the microblading process, not an upsell.
Annual maintenance
Plan to refresh your brows when the colour starts losing sharpness or the shape looks less defined, usually around the 12–15 month mark. Many people book their next maintenance appointment right after their current touch-up to make sure they get their preferred artist at the time they want. Regular maintenance is always easier, quicker and more affordable than letting your brows fade completely and rebuilding from bare skin.
Choosing the right microblading technician
Your results depend almost entirely on your technician's skill, so this isn't the moment to cut corners. This is your face. Look for recognised training credentials, an extensive portfolio showing both fresh and fully healed results, and meticulous hygiene standards. The consultation should be thorough, covering pigment selection, numbing options, pain management, realistic healing expectations and detailed aftercare instructions. If someone rushes you through consultation or seems annoyed by your questions, find someone else.
Portfolio evaluation
Scrutinise before-and-after photos carefully, paying special attention to healed results (6+ weeks post-treatment). Fresh microblading always looks good. Healed work reveals true skill. Look for natural styling that suits different face shapes, consistent quality across various clients and skin types, and crisp, realistic hair strokes. Red flags include overly filtered photos, limited variety, blurry strokes, harsh or blocky shapes, or unnatural colour tones. Orange, grey or blue brows are never the goal.
Questions to ask your technician
Come prepared and don’t be afraid to quiz them. Where did you receive your training and certification? What pigment brands do you use, and why? Do you provide direct aftercare support if I have concerns during healing? What's your policy on touch-ups if I'm not happy? How many years have you been practising? Can I see healed examples from clients with a similar skin type to mine? A confident, experienced technician will welcome every one of these questions. And if they don't, that tells you something.
Technique comparison
| Technique | Effect | Tool | Best Skin Types | Healing | Longevity | Pain Level | Price Range |
|---|---|---|---|---|---|---|---|
| Microblading | Natural hair-like strokes | Handheld pen with microblade needles | Normal to dry | 4–6 weeks | 12–18 months | Mild to moderate | £200–£400 |
| Microshading | Soft, powdery finish | Handheld tool or machine (dot patterns) | All skin types | 4–6 weeks | 1–2 years | Mild | £250–£550 |
| Nanoblading | Ultra-fine strokes (thinner blade) | Pen with extremely fine nano needles | Normal to combo | 4–6 weeks | 12–24 months | Mild to moderate | £300–£700 |
| Powder Brows | Gradient shading, more filled look | Machine-operated device | Oily or mature skin | 4–6 weeks | 1–3 years | Mild | £250–£550 |
| Combination Brows | Mix of hair strokes + shading | Microblade + shading tool | Normal to oily | 4–6 weeks | 12–18 months | Mild to moderate | £350–£700 |
| Traditional Eyebrow Tattoo | Solid, permanent colour | Tattoo machine | Most skin types | Several weeks | Permanent (fades slowly) | Moderate to high | Varies widely |
Ready to wake up with perfect brows?
Here's what it comes down to: microblading gives you the brows you've been drawing on every morning, except they're already there when you open your eyes. No pencil. No magnifying mirror. No catching sight of yourself at 2pm and realising one brow has gone rogue. Just brows that look like yours, exactly how you want them, ready to take on the day.
The treatment is safe, the results are natural and the right technician will make the whole experience far less daunting than you're imagining right now. So what are you waiting for?
FAQs
Expect to pay £350–£400 in the UK for your initial session including the essential 6-week touch-up. Cheaper isn't better here. You're paying for skill and safety.
Most people experience mild scratching or stinging thanks to numbing cream. It's far less painful than most people anticipate. The worry beforehand is the worst part.
Typically 12–18 months before you'll need a refresh, though oily skin and sun exposure speed up fading. Some people get nearly two years out of a single session.
Microblading creates individual hair-like strokes for a natural look; microshading uses tiny dots for a softer, powdered effect that holds up better on oily skin. Your technician can advise which suits you.
Microblading is not recommended during pregnancy or breastfeeding due to the risk of infection and unknown effects of pigments and numbing agents. One to book in once the baby arrives.
Completely normal around week two to three when scabs fall off and colour seems to vanish. Don't worry, the pigment reappears as skin fully heals by week four to six.
Check credentials, review healed work in their portfolio, verify strict hygiene practices and trust your gut during consultation. This is your face. Saving money isn't worth the risk.
Removal is possible through saline or laser treatments, but it takes multiple sessions, costs considerably and risks scarring. Prevention through careful artist selection beats correction every time. Do your homework upfront.